How To Handbuild Ceramic Plates: An Artisanal Guide for Design Enthusiasts
Welcome to the world of handbuilding ceramic plates, where art meets functionality in the most personal way. This blog will take you through the nuanced process of creating handmade ceramic plates, an endeavor that blends skill, creativity, and an eye for design. It's especially tailored for those who not only love to cook and entertain but also appreciate the finer details in their kitchenware.
Understanding Handbuilding: A Primer
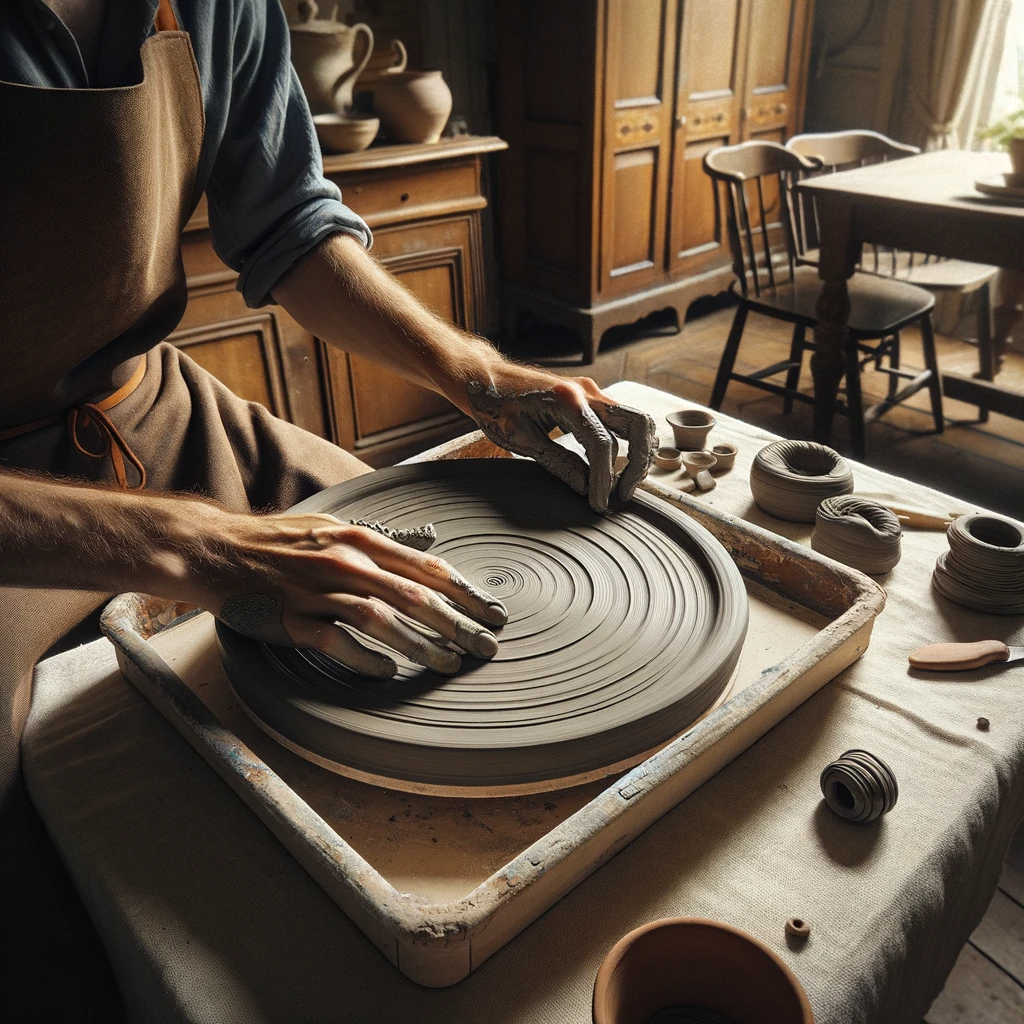
Handbuilding is a traditional method of working with clay using nothing but your hands and basic tools. Unlike wheel-thrown pottery, handbuilding allows for more controlled, intentional designs, perfect for crafting unique, minimalist ceramic plates.
1. Preparing Your Clay: The Foundation
Begin with high-quality, natural clay. Kneading, or wedging, is crucial to eliminate air bubbles, which can cause imperfections during firing. This process also makes the clay malleable, ready to be shaped into your desired form.
2. Techniques of Handbuilding
There are several techniques in handbuilding, each offering a different aesthetic:
- Slab Building: Roll your clay into an even slab. Using templates, cut out the plate shape. Slab building is ideal for creating uniformly shaped plates, lending itself to a clean, minimalist design.
- Pinching: This technique involves shaping the clay by pinching and turning it in your hands. It's perfect for smaller plates and offers a more organic, rustic feel.
- Coiling: Create long coils of clay and layer them to form the plate's shape. This method is excellent for creating larger, sturdier plates with a distinctive spiral texture.
3. Shaping and Smoothing
Once you have the basic shape, refine the edges and surface. For a smoother finish, use rubber or metal ribs. If a textured surface is desired, experiment with various imprinting tools or natural objects.
4. Adding Personal Touches
This stage is where your creativity truly comes into play. Carve designs, add appliqués, or create patterns. These embellishments not only enhance the visual appeal but also make each plate a unique piece of art.
5. Drying and Bisque Firing
Allow your formed plates to dry slowly and evenly. Once bone dry, they are ready for bisque firing in a kiln. This first firing transforms the clay into a porous, yet solid state, ready for glazing.
6. Glazing: The Colorful Transformation
Choose a glaze that complements your design. Apply it evenly, keeping in mind that the firing process will often change the final color. Glazing not only adds beauty but also makes the plates food-safe and durable.
7. The Final Firing
The last step is the glaze firing, where the kiln brings your artwork to life. This firing solidifies the glaze and clay, culminating in a strong, functional piece.
Why Handbuild Your Ceramic Plates?
Handbuilding plates is more than just a craft; it's a personal journey into creating something that reflects your style and ethos. These plates carry the imprint of your hands, your choices, and your artistic vision, making them perfect for those who value originality and craftsmanship in their kitchenware.
Conclusion: A Plate that Tells a Story
Handbuilt ceramic plates are more than just dinnerware; they are a conversation starter, a statement of your commitment to sustainability, and a reflection of your unique aesthetic. By understanding and engaging in the process of handbuilding, you create pieces that are not just functional but are also imbued with personal significance and artistic value. Whether it's a dinner party or a quiet meal at home, these plates will add a touch of handmade luxury to your culinary experiences.